(article is introduced for educational purpose, author is not responsible for results of incorrect/criminal information usage)
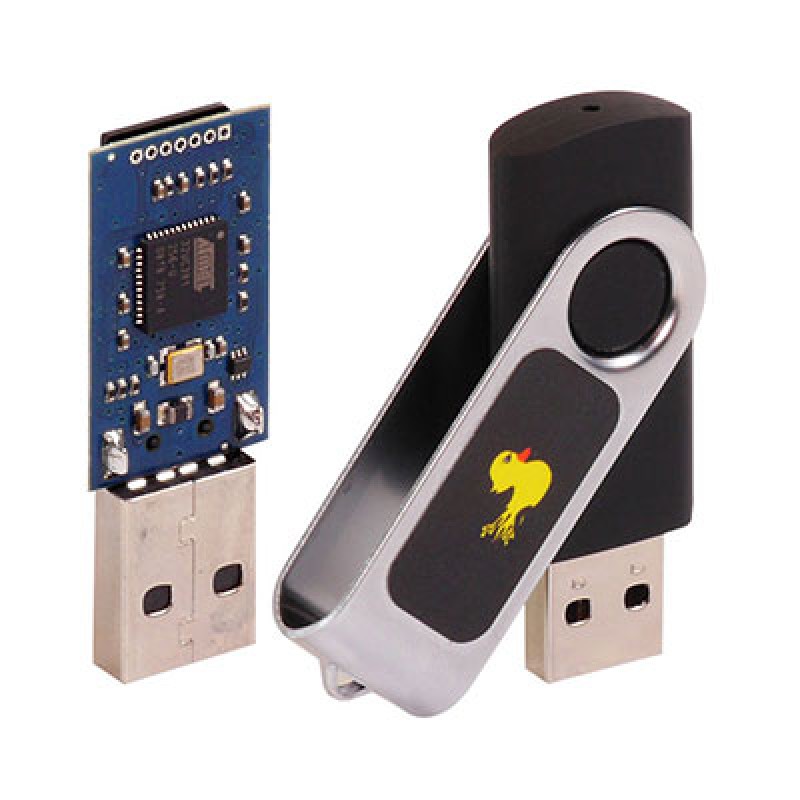
If you are familiar with penetration testing then you should know for sure USB RUBBER DUCKY - keystroke injection pentest tool. You are inserting USB device into computer and it is behaving like a keyboard and sending commands you prepared beforehand. Sounds really cool! If you also want to try how it is working and do not want to pay 50$ (price for USB RUBBER DUCKY) then you are welcome to read instructions below how to make it from 1$ Digispark (Link to item on Aliexpress).

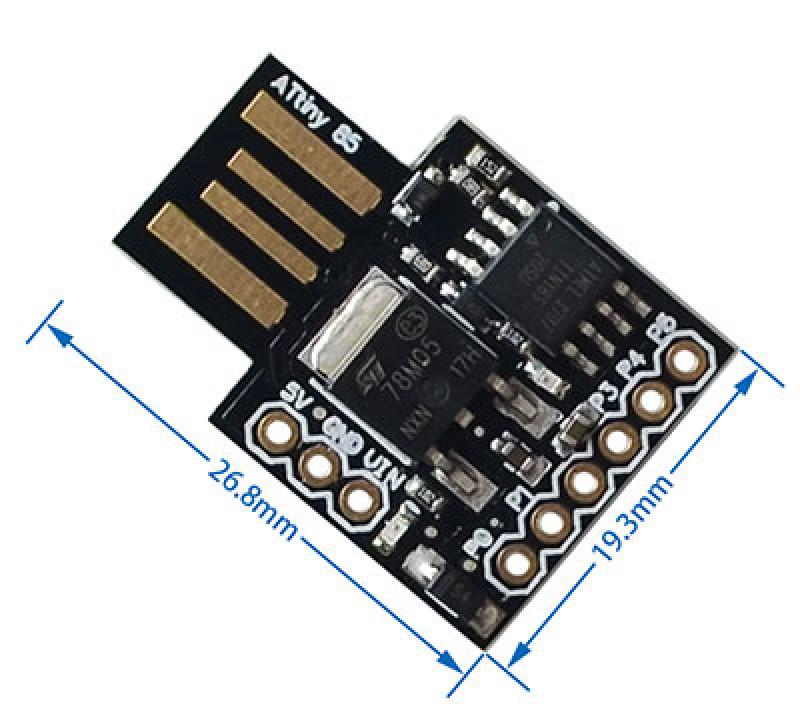
Digispark - is the smallest Arduino-compatible controller (made by Digispark and based on Attiny85 microcontroller).

Idea of transformation is in creating DUCKY SCRIPT using THE USB RUBBER DUCKY LANGUAGE and then transforming it into Arduino sketch for uploading into Digispark.
1. You need to create empty text file called, for example test.duck and put inside next commands (written on rubber ducky language)
DELAY 1000
GUI r
DELAY 100
STRING notepad.exe
ENTER
DELAY 1000
STRING Great, your computer is hacked!
These are instructions (for Windows, and of course you can do them for other platforms as well) which will be executed when you insert Digispark into USB port of computer. In simple words it will open Run window and then type inside notepad.exe to open Notepad editor and then paste inside text "Great, your computer is hacked!".
2.1 Then intermediary file should be created using duckencoder.jar (which you can download by clicking on latest "Download" link here, I assume JAVA is already installed on your PC)).
java -jar .\duckencoder.jar -i .\test.duck -o raw.bin -l en
It will pick up (parameter -i means input file) you duck file created on previous step and encode it into intermediary file (parameter -o means output file) raw.bin
2.1 Then this raw.bin you need to convert into Arduino sketch file using duck2spark.py (python script which you can download in Git repository here, I assume Python is already installed on your PC).
python .\duck2spark-master\duck2spark.py -i .\raw.bin -l 1 -f 2000 -o sketch.ino
3.1 After this install Arduino IDE (you can download it here). After IDE is installed, open File -> Preferences and in input field "Additional Boards Manager URLs" enter: http://digistump.com/package_digistump_index.json and click OK. Then open from menu Tools -> Board -> Boards Manager and in dropdown select "Contributed", search for "Digistump AVR Boards" package and install it. Now open Tools -> Board -> Digistump AVR Boards and select "Digispark (Default — 16.5mhz)".
3.2 Then open created previously sketch.ino file in IDE.
4.1 For uploading sketch on Digispark controller you need to have installed drivers, so system can recognize it properly. You can download them from here: https://github.com/digistump/DigistumpArduino/releases/download/1.6.7/Digistump.Drivers.zip and execute DPinst.exe or DPinst64.exe (based on your OS).
4.2 Now in Arduino IDE you can click "Upload" (If you was already working with uploading sketch into adruino devices, then nothing new/special here - same flow). In IDE console you'll receice message "Plug in device now... (will timeout in 60 seconds)" - this means plug in your Digispark into USB port and sketch will be uploaded.
And that's all - script will be executed right after uploading or everytime when you are plug it in UBS port of a device. Looks like nothing serious, but this is not true. Here you can find lot of ready to use scripts which can:
- Steal your passwords
- Download and execute files which will provide full remote access to your PC
- And many others serious problems you can face if such device will be plugged into USB port of your device